Installation
- Download for your plaform at http://julialang.org/downloads/
- juliaup is a cross-platform installer useful to install specific Julia versions.
- Homebrew is the best way to install Julia on macOS.
- Most Linux distributions come with Julia packages in their repositories. However, these may lag somewhat behind the current rather fast development cycle.
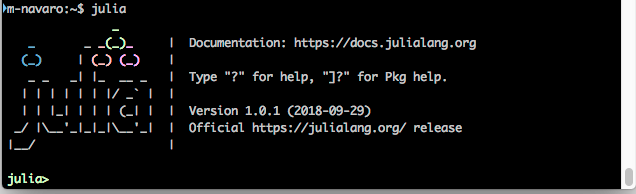
Julia shell
- Type julia in a terminal
- “Tab” for autocompletion
pwd()(Current directory)cd()(Change directory),homedir()(Home directory)- Use
;to switch to unix shell. help(“sin”)ou?sintoggles the help mode.
Run julia code.
Julia programs use “.jl” extension by convention and can be executed in the julia prompt with:
include("my_program.jl")- Julia is first translated into an intermediate representation.
- Then LLVM compiles it for your machine.
This means that
- re-running the same code is faster the second time around
- it runs at speeds comparable to compiled C or Fortran code
IDE
- Julia shell
- Command line :
julia my_program.jl - Julia notebooks (Jupyter)
- VS Code
I personally use Jupyter for development but VScode seems to be the most used environment.
Packages
- Use
]to switch to package manager.
pkg> add IJuliawill install the package. Type help to display all available commands.
Use “backspace” to go back to the julia shell.
https://pkg.julialang.org
The package is installed in directory ~/.julia/
To import the package, type:
using IJuliaJupyter notebook
The Jupyter Notebook is an open-source web application that allows you to create and share documents that contain live code, equations, visualizations and narrative text. Uses include: data cleaning and transformation, numerical simulation, statistical modeling, data visualization, machine learning, and much more.
type:
using IJulia
notebook()  # use notebook(detached=true)
To convert a notebook file .ipynb in julia program .jl:
- In the top menu
File->Download as - Command line :
ipython nbconvert --to script my_notebook.ipynb.